Indigo's BMX Build — Day 1
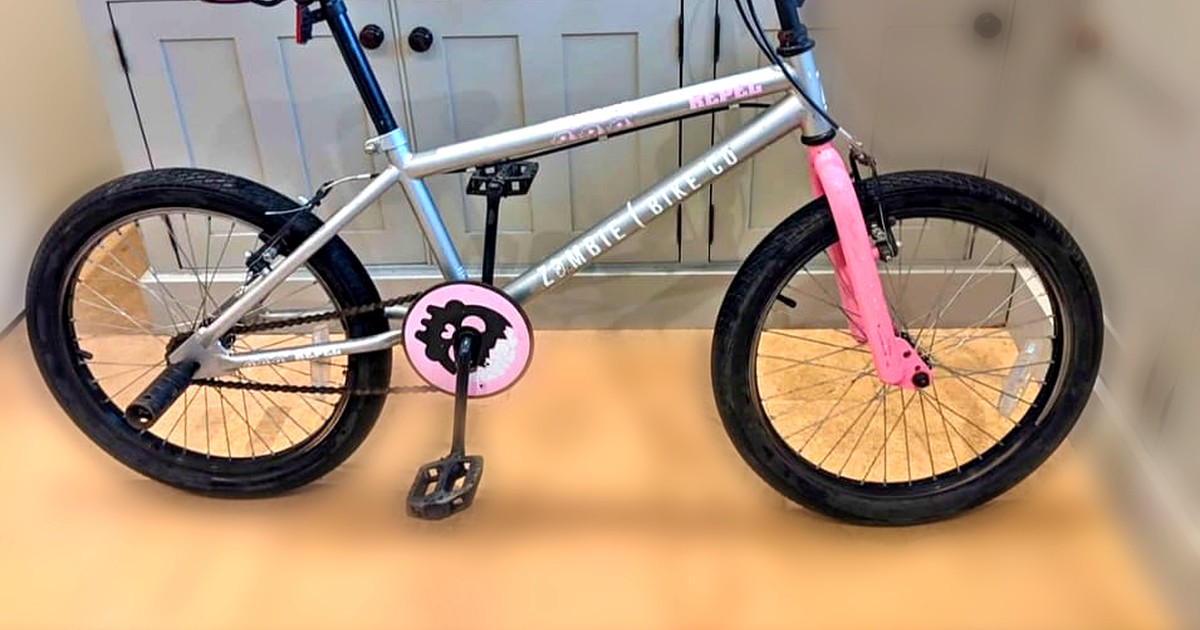
Indigo has Bike Ability coming up at school and needed a bike. I picked up a Zombie Bike Co BMX — silver frame, pink forks, bars and saddle. Clean enough out of the box. But you know how it is.
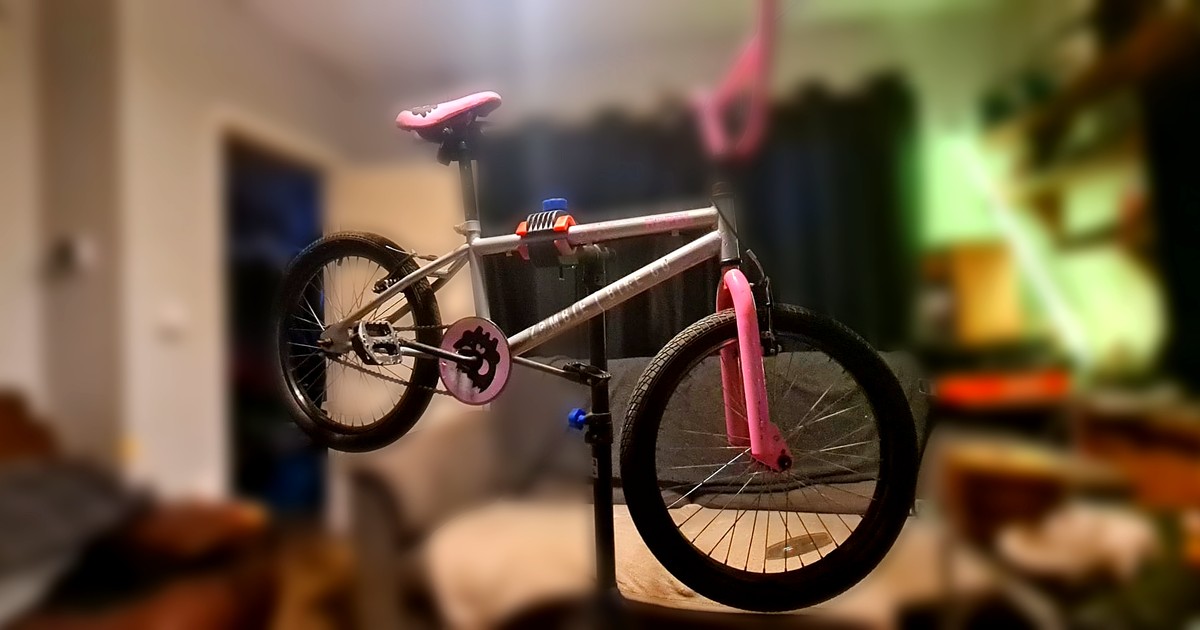
Straight onto the stand
First thing: get it stripped back and up on the repair stand. Assess what you've got, figure out what it needs.
While I had the wheels off I grabbed the drill with a flap wheel and scuffed the braking surface on both rims. Simple trick, makes a real difference — especially for a kid still building confidence. Better bite from the pads means better stops, full stop.
Parts bin wins
Raided the stash and found a set of deep red/pink patterned tyres that honestly look like they were made for this bike. Popped those on and the whole thing came together immediately — they tie right in with the pink forks and bars.

Brakes adjusted, bike rideable. Main job done for the week — Indigo can ride it while we wait on parts.
Parts on the way
Ordered some upgrades: ODI RG66 lock-on grips and Bucklos platform pedals, in both purple and Bianchi (teal/mint). Couldn't decide, so I ordered both. Plan is to let Indigo pick her colour and I'll keep the other set for one of my own builds — got a couple of BMXs in the garden that need some love.
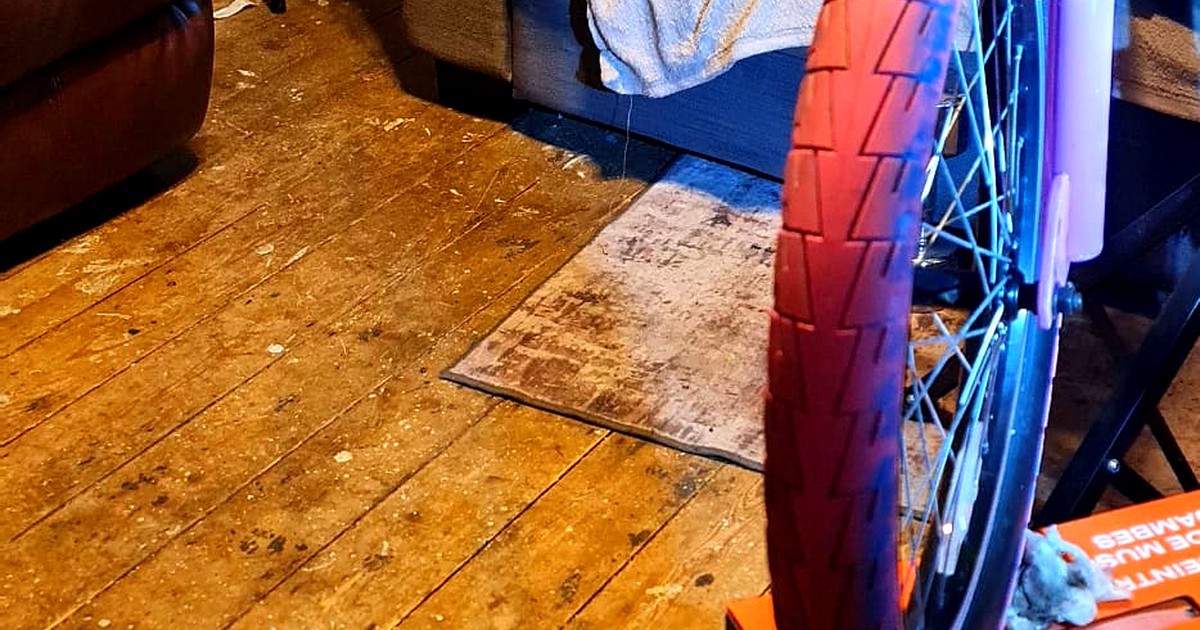
Where it went wrong
Then came the headset. A little knock — I thought it was just a service job. At 23:00 on bare floorboards, the top bearing had other ideas.
I could hear them scattering in multiple directions.
Torch out. Magnet bar out. Attempted a full recovery operation. Tried raiding the parts bin for replacements but everything I had was the wrong size. Turns out the original headset has failed completely.
Lesson noted: do not service headsets in situ.
On the plus side — I re-engineered a WD40 nozzle to fit a GT85 can with a quick ream. Perfect fit. Small victories.
Side note: new tooling
I've also been building a photo editing tool for the blog — background blur, consistent sizing, filter presets — so I can go from phone snap to post-ready image without the friction. These build photos were the first real test. More on that separately.
Day 2 coming soon — sourcing the right headset, finishing the build, and fitting those parts when they land.